Categories
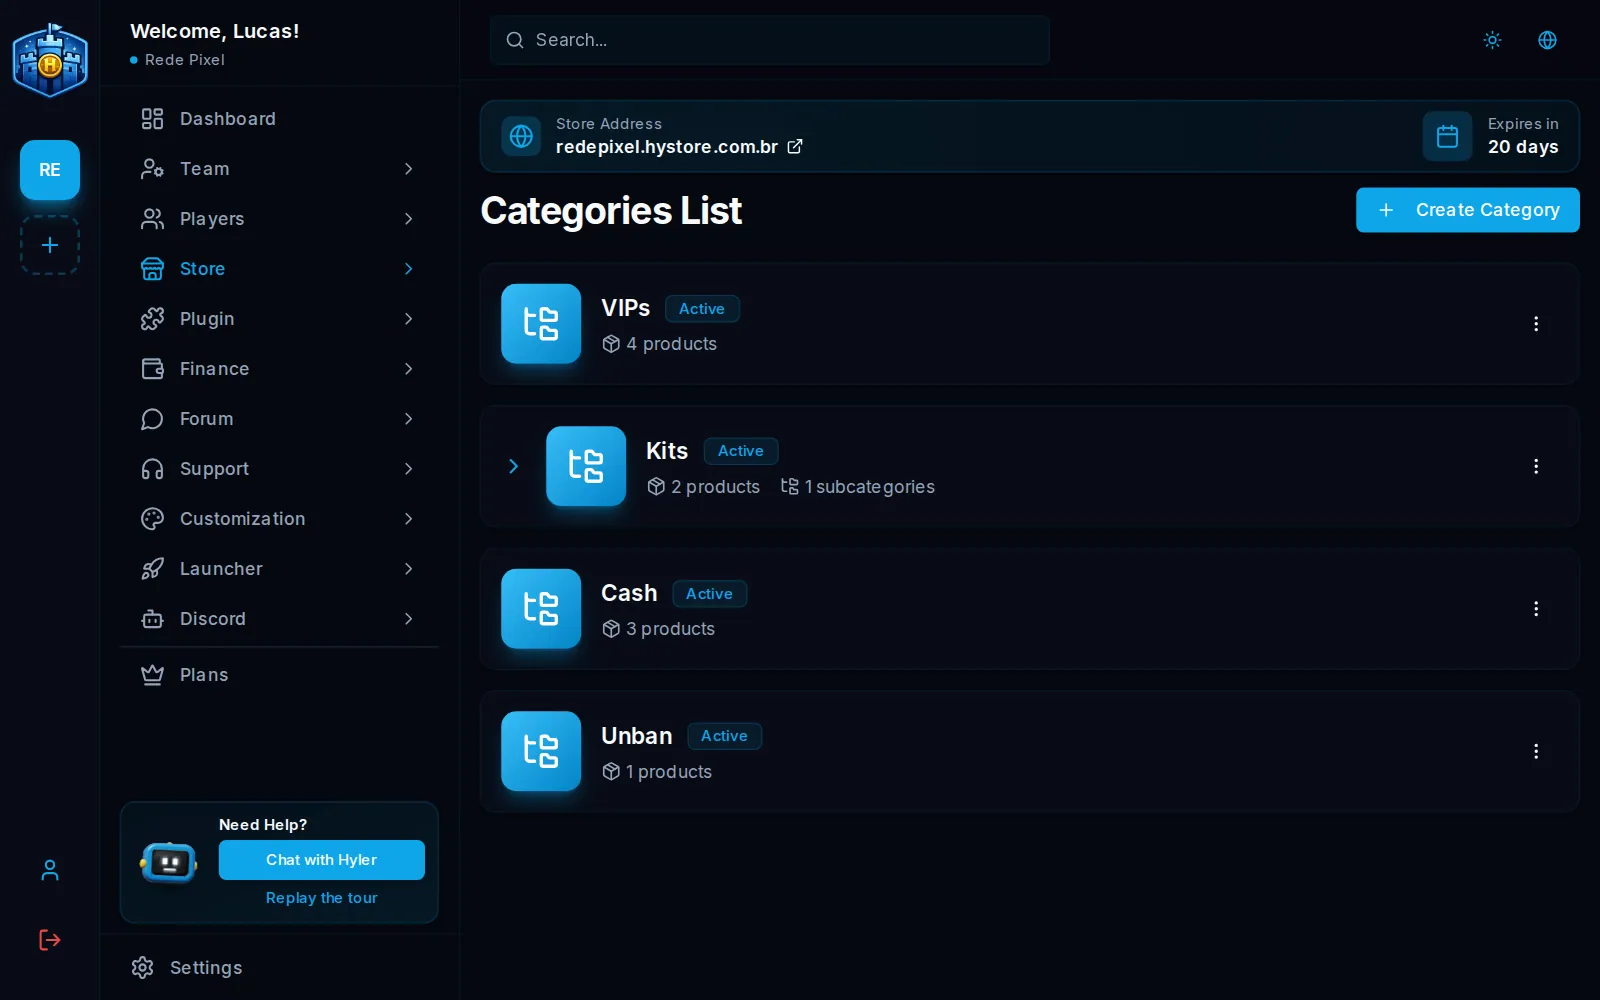
Categories group the products in the store, like VIPs, Kits and Cash. Each one has its own page in the storefront, with a picture and a banner, and it can have subcategories.
Everything is in Store > Categories.
Create a category
- In Store > Categories, click Create Category.
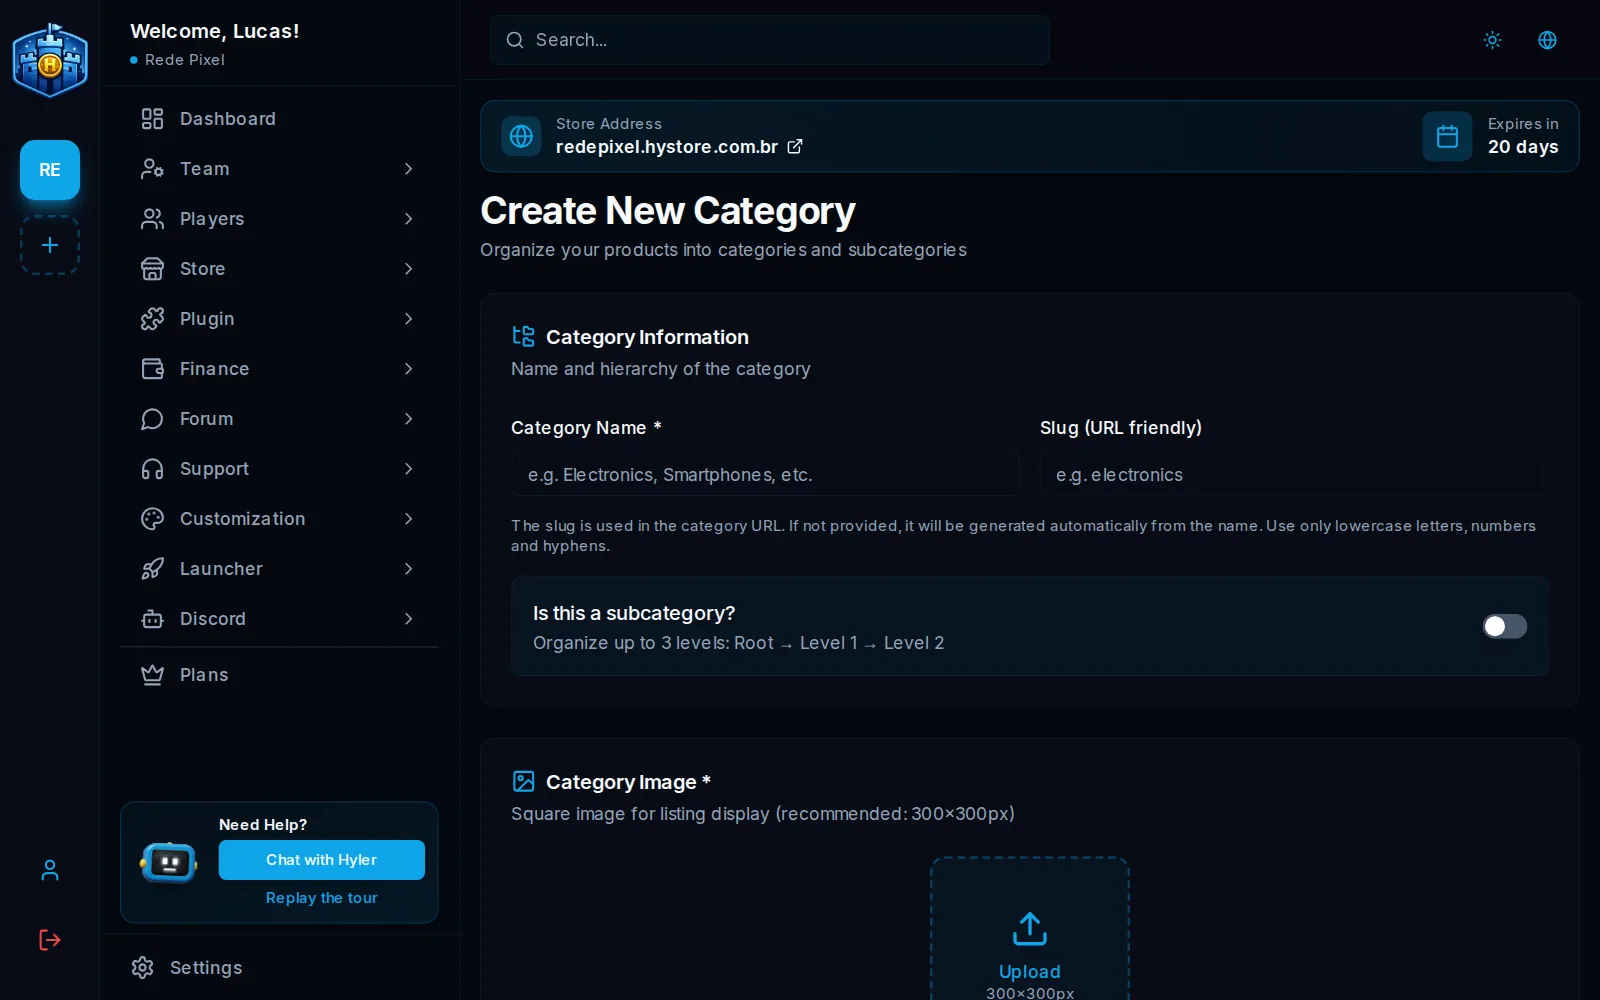
- In Category Name, type the name, for example
VIPs. - The Slug (URL friendly) is the piece of the address of the category page
in the store, like
vips. If you leave it blank, it comes from the name. Use only lowercase letters, numbers and hyphens. - In Category Image, upload a square picture (300x300 px recommended): it shows in the list.
- In Category Banner, upload the wide banner (1200x400 px recommended): it shows at the top of the category page.
- Click Create Category.
Subcategories
To organize further, create categories inside categories, up to 3 levels: Root → Level 1 → Level 2. Example:
Kits
├── PvP kits
│   ├── Swords
│   └── Bows
└── Building kits
- When creating, turn on Is this a subcategory?.
- In Parent Category, pick the category above it.
Edit, deactivate and delete
- Edit changes the name, the slug, the picture and the banner.
- Deactivate hides the category from the store without deleting anything; Activate brings it back.
- Delete is final.
To change the order of the products inside a category, use the product list. See Products.